Aircraft Care After Extended Outdoor Parking
What builds up on an aircraft after weeks or months parked outdoors, which items belong to the pilot or mechanic first, and how to plan the cleaning that follows.
NWA Aircraft Detailing Editorial · · 5 min read
An aircraft that has sat outdoors for weeks or months usually needs two kinds of attention, in a specific order. First come the items that affect whether it is ready to fly, which belong to the pilot and a certificated mechanic. Then comes cleaning: the dust film, droppings, sap, water spotting, and cabin staleness that outdoor parking leaves behind. Treating the cleaning as a careful, documented reset, rather than a fast scrub, protects the finish and transparencies that have been exposed the whole time.
Airworthiness items come before cleaning
Outdoor parking affects more than appearance. Cessna’s information manual for the 172S, as one model example, notes that outside storage for long periods may result in dust and dirt on the induction air filter, obstructions in airspeed system lines, water contaminants in the fuel tanks, and insect, bird, or rodent nests in any opening. It also says that an airplane that has been in extended storage calls for a more extensive exterior inspection, and that tire sidewall cracking can result from prolonged exposure to weather.
None of those are detailing tasks. Inspecting openings and pitot-static lines, checking fuel, examining tires, and deciding whether the aircraft needs maintenance before flight belong to the pilot, the owner, and a certificated mechanic. Engine considerations after a long idle period are likewise a maintenance matter, governed by the aircraft and engine manufacturers’ guidance.
A detailer may notice a nest near a vent, a damaged seal, or a cracked lens while cleaning. The right response is to stop, document it, and tell the owner. Probing or clearing openings is not part of cosmetic cleaning.
What builds up outdoors
Once the aircraft has been looked at by the people responsible for its airworthiness, the cleaning picture usually includes some combination of:
| Accumulation | Where it shows | Cleaning consideration |
|---|---|---|
| Dust and airport film | Every upper surface, seams, and fairings | Should be rinsed or lifted, not dry-wiped |
| Bird droppings | Upper wing, tail, windshield | Worth lifting gently rather than scrubbing, especially on transparencies |
| Tree sap and seed debris | Aircraft parked near trees | May need a product the paint manufacturer allows |
| Pollen and leaf debris | Upper surfaces and seams | Varies by season |
| Water spotting | Paint and transparencies after rain and dew cycles | See our article on water spots |
| Cover marks or trapped grit | Under windshield and engine covers | Inspect transparencies before cleaning |
| Faded or chalky paint | Sun-facing surfaces | May indicate oxidation; assessed before any correction |
| Stale or damp cabin | Interior | Ventilation, drying, and surface cleaning |
Covers help and can also cause problems
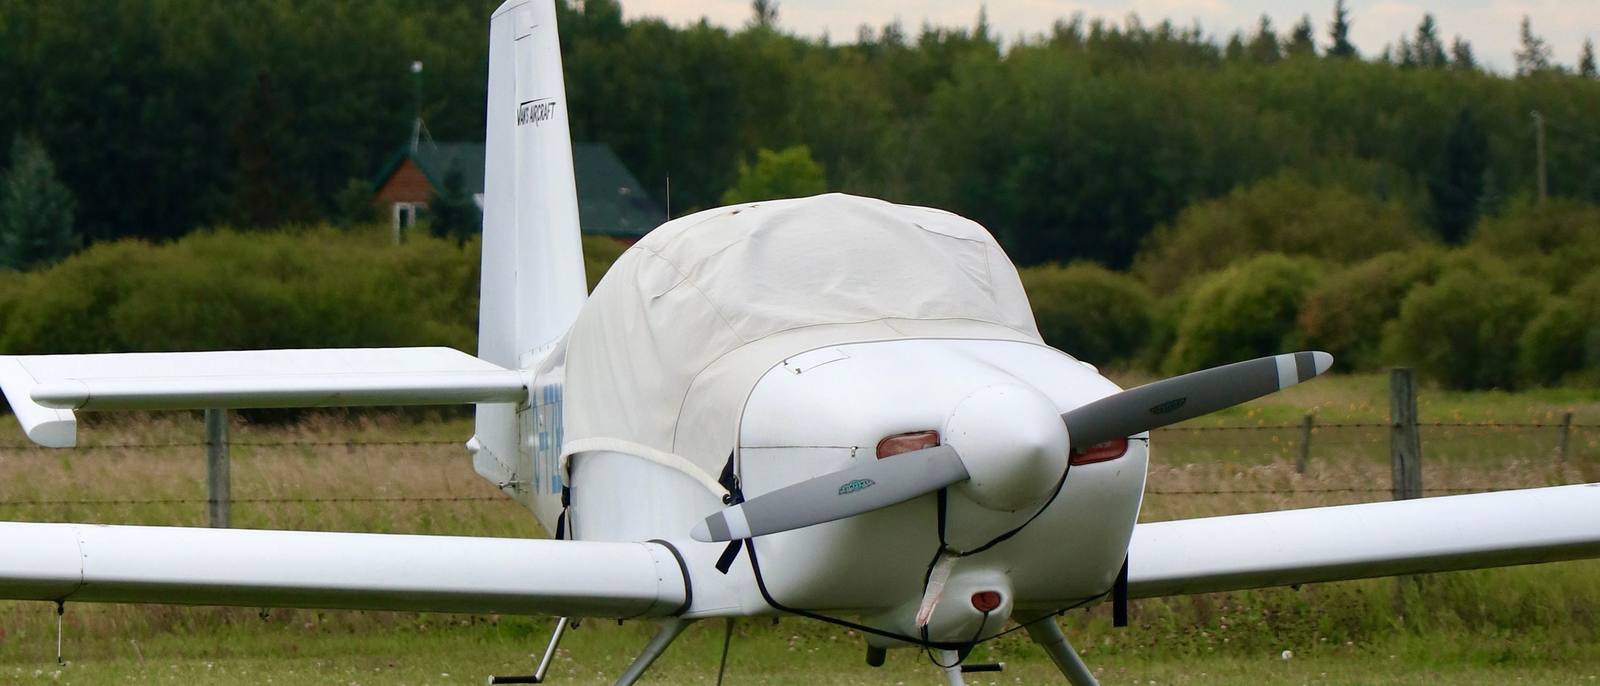
Covers are common on outdoor aircraft, and they do block sun and debris. FAA Advisory Circular 43.13-1B notes the tradeoffs for acrylic windshields: a cover can absorb moisture from the air and give off harmful vapors, can cause crazing or minute cracks if it touches the plastic, and can let blowing sand get underneath and scratch the surface. The AC observes that in many cases covers have done more harm than good, while also noting that hangar storage or shade protects the windshield from sun heat.
After long outdoor parking, it is worth looking closely at transparencies when covers come off, before any cleaning starts. Scratches or crazing that were already there should be noted so they are not mistaken for something caused during cleaning. Assessing or repairing transparency damage is a matter for the owner and a qualified repair source, following the transparency manufacturer’s guidance.
Clean gently, in the right conditions
The FAA’s Aviation Maintenance Technician Handbook gives several general principles that matter after outdoor exposure:
- Flush plastic surfaces with fresh water to wash away dust particles before washing, and do not rub plastic with a dry cloth
- Wash in the shade whenever possible, because cleaning compounds can streak on hot surfaces or if allowed to dry
- Cover openings where water or cleaners might enter, with particular attention to pitot-static fittings and ports
Beyond those principles, product choice and method follow the aircraft manufacturer’s care guidance and the paint, transparency, and interior material manufacturers. There is no universal method that fits every aircraft.
The finish may need assessment, not just cleaning
Long sun exposure can leave paint looking dull or chalky. Cleaning removes surface contamination, but it does not reverse weathering. If the finish still looks flat after a thorough wash, that is the point to have it assessed rather than reaching for an aggressive polish. Aircraft Paint Oxidation: Cosmetic Signs and Next Steps explains what to look at and why any correction work should start with understanding the paint system.
The cabin after weeks closed up
Cabins on outdoor aircraft go through heat, cold, and humidity cycles with the doors shut. AC 43.13-1B notes that sun makes the inside of a closed aircraft extremely hot. A post-parking interior detail usually involves airing the cabin out, removing anything left inside, vacuuming, and cleaning surfaces with products suited to each material. Persistent dampness or water staining points to a possible leak, which is a maintenance question.
Document the starting condition
After extended outdoor parking, a written and photographed record of the aircraft’s condition before cleaning is especially useful. It captures existing chips, scratches, crazing, and stains, and it gives the owner a clear before-and-after. What a Useful Detailing Condition Record Should Include lists what to capture.
A post-parking sequence
- Pilot and mechanic address preflight and any maintenance items
- Covers removed and transparencies inspected
- Condition record made, with photos
- Gentle exterior wash in suitable conditions, working around sensitive areas
- Interior aired, cleaned, and dried
- Finish reassessed once clean, with any further work discussed separately
If you are weighing whether the aircraft should stay outdoors at all, Hangared Versus Outdoor Aircraft: How Care Needs Differ compares the two.
Requesting cleaning after outdoor parking
When you request a quote, include the aircraft type, where it has been parked and for roughly how long, whether it was covered, and photos of the upper surfaces, windshield, and cabin. Let us know whether the pilot or mechanic has already looked it over, so the cleaning can be scheduled after that. Service at any airport is subject to airport and facility approval.
Sources
- Cessna Model 172S NAV III Information Manual, Section 4 (Preflight Inspection) and Section 8 (Cleaning and Care) (Cessna Aircraft Company)
- Advisory Circular 43.13-1B, Acceptable Methods, Techniques, and Practices: Aircraft Inspection and Repair (Chapter 3, Section 3-41, Protection of acrylic windshields) (Federal Aviation Administration)
- Aviation Maintenance Technician Handbook: General (FAA-H-8083-30B), Chapter 8, Cleaning and Corrosion Control (Federal Aviation Administration)
This article is general information about cosmetic aircraft care. It is not maintenance guidance. Your aircraft's manufacturer documentation and your maintenance provider take precedence.